|
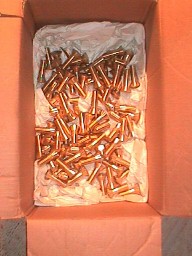
February 7 - 13 Monday morning Ramiro arrives and brings with him a box containing the new, custom made bolts, for the assembly of the window sashes.
They are beautiful.
We hop too and replace the original steel bolts, that were temporarily holding the sashes in place, with the new ones.
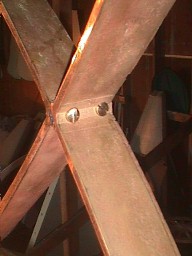
Each window sash intersection receives new bronze slotted cap screws too instead of the original steel ones. The thinking behind all of this is that since the window sashes will not be painted but be allowed to age to their natural patina the bolts should be of the same material so they will have the same patina also. If we had used steel bolts, they would have had to be painted some color. An expensive decision but with spectacular end results.
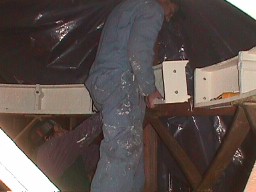
Now that all the window sashes are finally in place and bolted together it is time to start installing the Architrave (the short wall above the windows).
Here Ramiro helps lift the last of the nine Architrave sections into place.
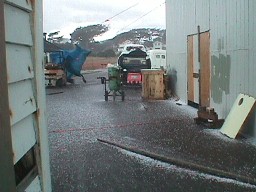
During all of this a howling storm shook the temporary shed and delivered hail!! To really appreciate this image you should stand in the freezing prop wash of an airplane with small stones pelting your ears!
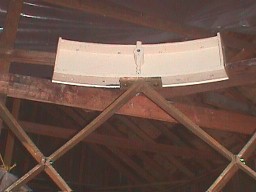
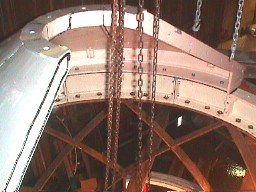
Never mind, progress continues. Two roof panels have been lifted and bolted into place on top of the Architrave. The third roof panel is on it's way up via chain-fall.
Five roof panels are now in place. Four to go. You can see the Vulcem sealant, we use to caulk the interface between roof panels, on the edge of the panel to the left. Every joint is caulked just before assembly.
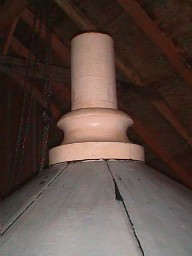
After the roof panels are bolted together we now hoist and then drag the 300 pound chimney up the slope of the Lantern roof on a piece of plywood to prevent scraping off the primer paint on the roof and the bottom of the chimney.
Yippee! The chimney is finally back on top of
the Lantern! No, it is not going to be a grey Lantern with a pink
chimney, although I sort of like it - sort of a 1950's motif! No,
it will all be painted black when it is time for the finish paint.
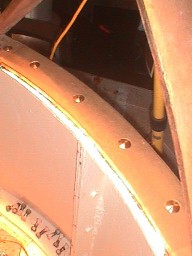
Friday found us installing the new steel Parapet liners which Ramiro sandblasted and primed. Then the cast iron mop board sections. You can see one of the bronze air regulator bases mounted in place. We keep the Lantern floor protected with pieces of wood siding while we work. Again, the finish paint colors, in this image, will be white for the Parapet liners and black for the floor and mop boards. Darn! I sort of liked this! Next week - hopefully - "We Do Windows"!! |